Posts

Showing posts from October, 2019

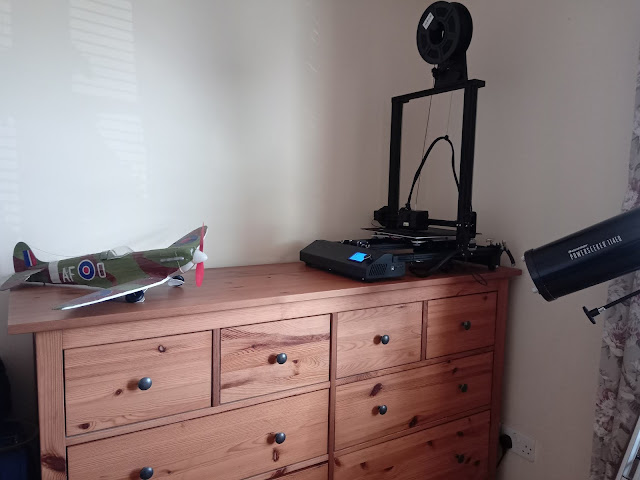
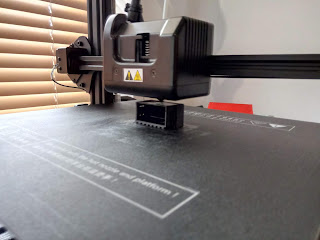
Copymaster 3D 300 - The Filament role call. V4.0 Final

Image
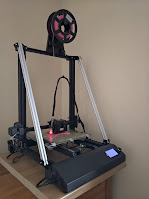
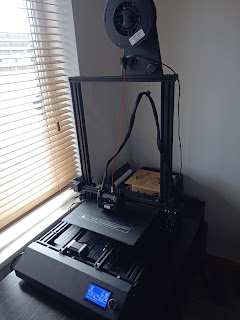
Intro Here are my general findings about various filaments that I have used in the Copymaster 3D 300. There are plenty of reviews out there, some of them are quite good, this is an unbiased view on each of the ones I have used and quite possibly more of a reminder for me than anything else.    This was a regularly updated blog entry which was last updated 25/01/2021 Settings have been added for reference to see what I had to do to make them work. Generally it is not a lot but you will see variations in quality control showing up through these figures. Images are there for examples. I haven't done benchmark tests between the different filaments as I am always modifying my machines and how I print so it wouldn't be fare. I'll leave that to Youtube influencers and the like. As this page was getting a bit confusing, I have now limited this one to filaments used on the Copymaster 3D 300 sliced in Cura. Head here for the Prusa i3 Mk3s based reviews. PLA 3D Jake Da

Sticky bedding V1.0 - Copymaster3D

Image
Intro A sticky bed is normally not a good thing, your "bargain" hotel might not be as great as you hoped. If the bed in question is gripping your 3D printed piece however, you might be a touch more appreciative and less grossed out. Flat is better Level the bed First you need to get the bed level or nothing will stick no matter how good your surface is.  I will add a bed levelling blog entry in the future but there are plenty of blogs and videos out there that will show you how to do this on any printer. I found a Bltouch upgrade took the work out of this a bit but brings its own problems. Don't forget to get fundamentals right too. You can spend an age levelling your bed but if your Z axis is out of whack, you are going to hit problems as things get taller. Flat surface Your printing surface itself may also not be flat. This is a problem I had where the bed was slightly U shaped. I fixed this by shimming the middle of the bed out with masking tape then pl

I've got no strings on me - Copymaster3D 300

Image
Intro The one thing the Copymaster3D was good at was not really stringing at all. But then, out of the blue it started. After some perfect prints, a test piece showed heavy stringing whilst chasing a different problem. This was a bit disappointing so I decided to sort this out. Why strings? Stringing normally occurs because of residual pressure in the head, allowing some melted plastic to ooze out whilst it transits to do another thing. If you are printing a fairly blocky thing that doesn't require the nozzle to stop and transit a lot, you may not even get any hence why I hadn't seen this problem start initially. Base line Now as I had been buggering about with things of late I first tried testing if things I had plaid with were causing the issue. The first test on the left was the second thing I printed after a stepped test brick which had come out fairly well. The black one on the right here is what the printer spat out without me changing anything as a

Tidy up - Copymaster3D 300

Image
Intro From stock a lot of 3D printers are very messy with their wiring routing. It is not only messy but it is just waiting to get snagged during a pring and cause a printer head restriction or worse still damamge the wiringas it drags about on the work surface. Tidy up bits Whilst I was printing test pieces for more bed leveling fun; I printed off some  2020 clips  and some   larger 2020 extrusion clips . The wiring on my Copymaster 3D is an absolute mess to allow for all the movement to take place. I was not a big fan of this so thought I might as well make some of these test pieces practical. the smaller clips didn't fit in the channel initially so I printed off the larger ones after. The large rectangular clips printed out well in PLA with a flat and bulged version to hold wire in the groove and outside of it.  Both designs printed out really nicely in PLA taking around 10 minutes, for a small batch, from start to finish.  I used both styles of the larger clips

Fresh bedding - Copymaster3D 300

Image
Intro I liked the idea of the magnetic removable bed on the Copymaster3D 300 and when using it, it really does help separate items from the bed without the need to go scraping away at it. Unfortunately my heated bed is not flat. In fact it is 0.5mm lower in the middle than it is the corners! With a bit of compensation, I could print to a good standard but as things ventured towards the edges, it all got a bit too close to the bed and things started to get messy. Talking to the shop Of course going back to the manufacturer to sort out a problem with a new printer was not the first thing that comes to my mind. That would be sensible. but I did try to talk to Technology outlet. These are the main UK distributer for Copymaster3D  and the place I bought mine from. To their credit they were very quick to respond to my problem. Their responce was: "...0.5mm is within manufacturing tolerances. It will always deviate slightly due to the 4 screws in the corner applying

Time to level with you, with a BL touch - Copymaster3D 300

Image
Intro After a lot of time faffing to get the first layer dialed in I now decided to buy a BL touch. I half hoped it would be able to compensate for the less than flat bed on the Copymaster as well as save me from endlessly resetting up the bed levelling. The BLtouch is a contact based auto bed leveling system which will work with all surface types unlike capacitive. It's downside is it is mechanical so has all of the problems that that comes with but it is very simple which does reduce the things that can go wrong with it a bit. You can get a  copy of the BLtouck V3  for just over a tenner if you are into gambling or the  genuine real deal  will set you back aroun £40 if you want to DIY this. Copymaster3D  do a kit and I would expect that Technology outlet will have them ready soon. This is currently £49.94 (inc VAT) which is barely more than the BLtouch on its own and comes with pre-made wires, a mounting bracket, a wealth of software info and instructions. Not bad at

Still learning and fine tuning - Copymaster3D 300

Image
Intro I was a few prints into ownership now. Some fine tuning had taken place so I felt like I could print more complicated designs. I tested things with a switch blank for my VW Corrado G60  which printed nicely save for a bit of layer shifting. Most of all I learned that plugging the printer into my computer makes the SD card print stop, Won't do that again! A long 24hr print of a basket had shown that stringing was one thing the printer was pretty good at avoiding. In fact it came out really nicely. This would theme where I would print something nice followed shortly by the printer spraying plastic everywhere in the next attempt with no changes. Oh the joys of 3D printing... Next I printed a tool holder designed for a Creality Ender 3 which fits the back of this printer nicely and gives me a place to stash all of those tools where I can get to them without going out to the shed every time. It actually printed out really smoothly with only a little sagging for the

Initial setup - Copymaster3D 300

Image
Intro With the Copymaster 3D 300 built and kit PLA installed I was itching to do my first print. I knew however; that there was no point in barrelling into this. There are a few manuals that comes on the printer SD card which would end up tripping me up but for now I was aware of the quick setup guide, user manual, an image with cura settings on it and a Q&A (FAQ) type thing. Bed leveling I had followed the user manual for the build and setup so far which, after building, takes you through leveling the bed. It doesn't say where to test from but with the head homed and the stepper motors disabled I was able to set the bed plate level by measuring each corner. The manual says to go till the nozzle just touches the bed but I had seen others use a piece of paper to gauge the downward pressure on the bed. I'd raise the bed till the paper was just griped and move on to the next corner. I then repeated this again to ensure that one adjustment hadn't effected the