Tidy up - Copymaster3D 300
Intro
From stock a lot of 3D printers are very messy with their wiring routing. It is not only messy but it is just waiting to get snagged during a pring and cause a printer head restriction or worse still damamge the wiringas it drags about on the work surface.
Tidy up bits
Whilst I was printing test pieces for more bed leveling fun; I printed off some 2020 clips and some larger 2020 extrusion clips.
 The wiring on my Copymaster 3D is an absolute mess to allow for all the movement to take place. I was not a big fan of this so thought I might as well make some of these test pieces practical.
the smaller clips didn't fit in the channel initially so I printed off the larger ones after.
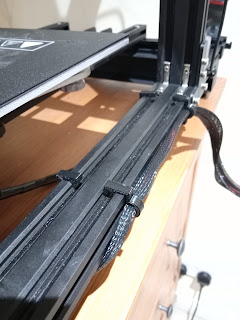
The large rectangular clips printed out well in PLA with a flat and bulged version to hold wire in the groove and outside of it.
Both designs printed out really nicely in PLA taking around 10 minutes, for a small batch, from start to finish.
I used both styles of the larger clips in different areas. I was impressed at how the supposedly brittle PLA (I am using Sunlu 1.75mm PLA) stretched over the extrusion before clicking into place for a firm grip.
The end result is very tidy for a factory fit look.
I had a load of the smaller clips printed out so wanted to make some kind of use of them. I tried trimming the top flange off of one (there are two flanges on each leg to grip the inside of the extrusion channel) and it fit in the 6mm channel as it should, staying firmly in place.
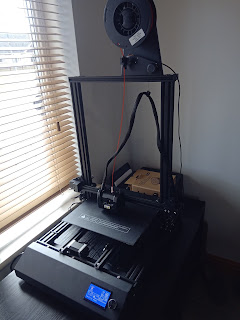
I used a few of these in other locations that needed wiring tidying such as the filament run out sensor cable pictured.
Much better!
But we aren't done yet...Much better!


Comments
Post a Comment