Printing on fabric *Work in progress*
This is a work in progress but as the blog is being written at the same time as I am working (for a change), I thought I might as well publish it to make it a live update of sorts. So do pop back in the future to see when I finally give up and set the lot on fire.
I decided to give this a go as I need some work t-shirts and what better way to show off my 3D printing than a 3D printed T-shirt logo? Well I can think of a few things but it is still cool.
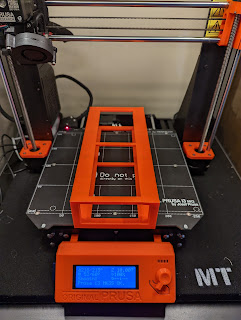 |
| fig.01 |
 |
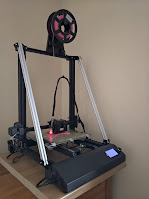
| fig.02 |
I ended up calibrating to a raised bed with no cloth on it, then fitting the t-shirt as tight as I could get it. It is shown above with the bed inside the t-shirt.
 |
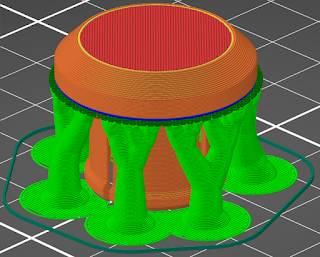
| fig.03 |
When I swapped to TPU, I found this setup allowed the shirt to move too much, when I finally got it to print it started okay but I later spotted it dragging the fabric. When I removed this failed print, the extrusion was evidently far too close.
I decided to raise the Z and try again somewhere else on the scrap t-shirt but I couldn't even get it to bed level again.
15/01/23
With a few hours put into this and other projects to do, I put this idea to one side till the subject popped up on Redit.
My re-attack would involve raising the Z height whilst increasing the flow and probably temperature to make up for the reduced affect from the heated bed.
Comments
Post a Comment