Cool Brah - Copymaster3D 300
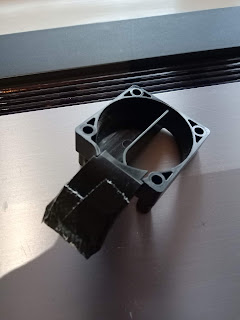 |
| Fig 1.1 |
This is an uncompleted task but publishing what I figured out as it might be helpful to you.
Parts cooling is an issue for the Copymaster 3D series.The printer is fighting a balance between maintaining hot end/cold eld temperature and cooling the filament rapidly enough on the printing surface so it sets. It is trying to do all of this with one ducted fan.
This design has the advantage of lowering the weight of an already heavy printer head but it makes printing rather tricky. I would often be compromising by running a temperature too low in order to reduce stringing and promote bed adhesion by running the bed clearance lower on first layers (compounded heavily by other issues too.
My first modification avenue was to try modifying the ducting for the existing fan.
I first mocked this out with tape to further aim air across the print but this did nothing but cause obstructions.
A ring or viper type duct would be nice but clearance under the head is next to impossible so I was going to need to alter the chassis of the head in order to do this.
Whilst investigating doing this, I wondered about adding another fan Prusa style.
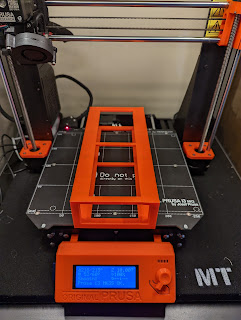
This would make ducting simpler and, by adding another fan, I would be able to run both at half speed which would be a shed load quieter. A fan was bought and mounting scheme were dreamed up but I bought an actual Prusa printer and the Copymaster was sold.
My basic idea was to have an angled blower on the front of the chassis blowing into a ducted lower half of the chassis which would direct the air around the nozzle whilst the side fan would be just for cooling above the hot end by deleting the duct pictured fig1.1. I was going to run the hot end fan off of the 24v output from the Arduino board stepped down to 12v for half speed whilst letting the bed fan use the controlled fan output. Alternatively I was going to chuck a BTT board in and run everything through that which gives more fan controls and solving a load of other issues at the same time.
 |
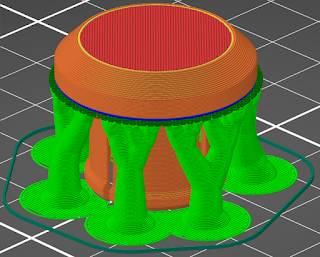
| Fig 1.2 |
Comments
Post a Comment