shhhhhhhhh pt2: Not a fan of the fan - Copymaster3D 300
This is a work in progress but as the blog is being written at the same time as I am working (for a change), I thought I might as well publish it to make it a live update of sorts. So do pop back in the future to see when I finally give up and set the lot on fire.
Intro and vast procrastination
The cooling fan is one of the loudest parts of the Copymaster3D 300. Let's see if we can make that not the case anymore.
Although we are in the aim of quietening down this printer this will also be straying into parts cooling too so this will probably get even more wordy and rambling than usual. Strap in.
The parts cooling fan also cools the cold end of the extruder. It is hidden inside the printer head chassis with a flow diverter between it and the heatsink. This allows some air flow to the cold end heatsink and the other half to be sent down a duct in the general direction of the part. The exhaust from the cold end cooling can escape via the printing head or a vent at the top of the chassis so in theory you also get a bit more cooling air milling about.A slightly less intuitive way to achieve quietening down the duel purpose fan is to add another fan and separate out their jobs.
If we do that we can achieve the same cooling effect with both fans running at a far quieter 50%. In reality it is not that simple but lets ignore reality and stick to simple concepts. Nothing bad ever happened doing that ever.
After a bit of hunting about I settled upon a cheap and supposedly silent turbo fan with a size outlet.
This would do away with a large and bulky fan bracket for 40mm fans which are popular at the moment.
Another bonus of the selected fan is that it is 24 Volts DC so I won't have to faf with a regulator. All I would need is a fairly simple bracket and as extension wire.
To make this work I could either mount the fan on the front of the printing head vertically or at an angle. I liked the second idea more and either way I was going to need to design my own bracket. I also liked the idea of 3D designing it and printing it much how I knew that I could probably hand make one out of sheet metal in the shed which would make it not only stronger but more thermally efficient. But let's not get bogged down by science and have some fun doing something new (to me).

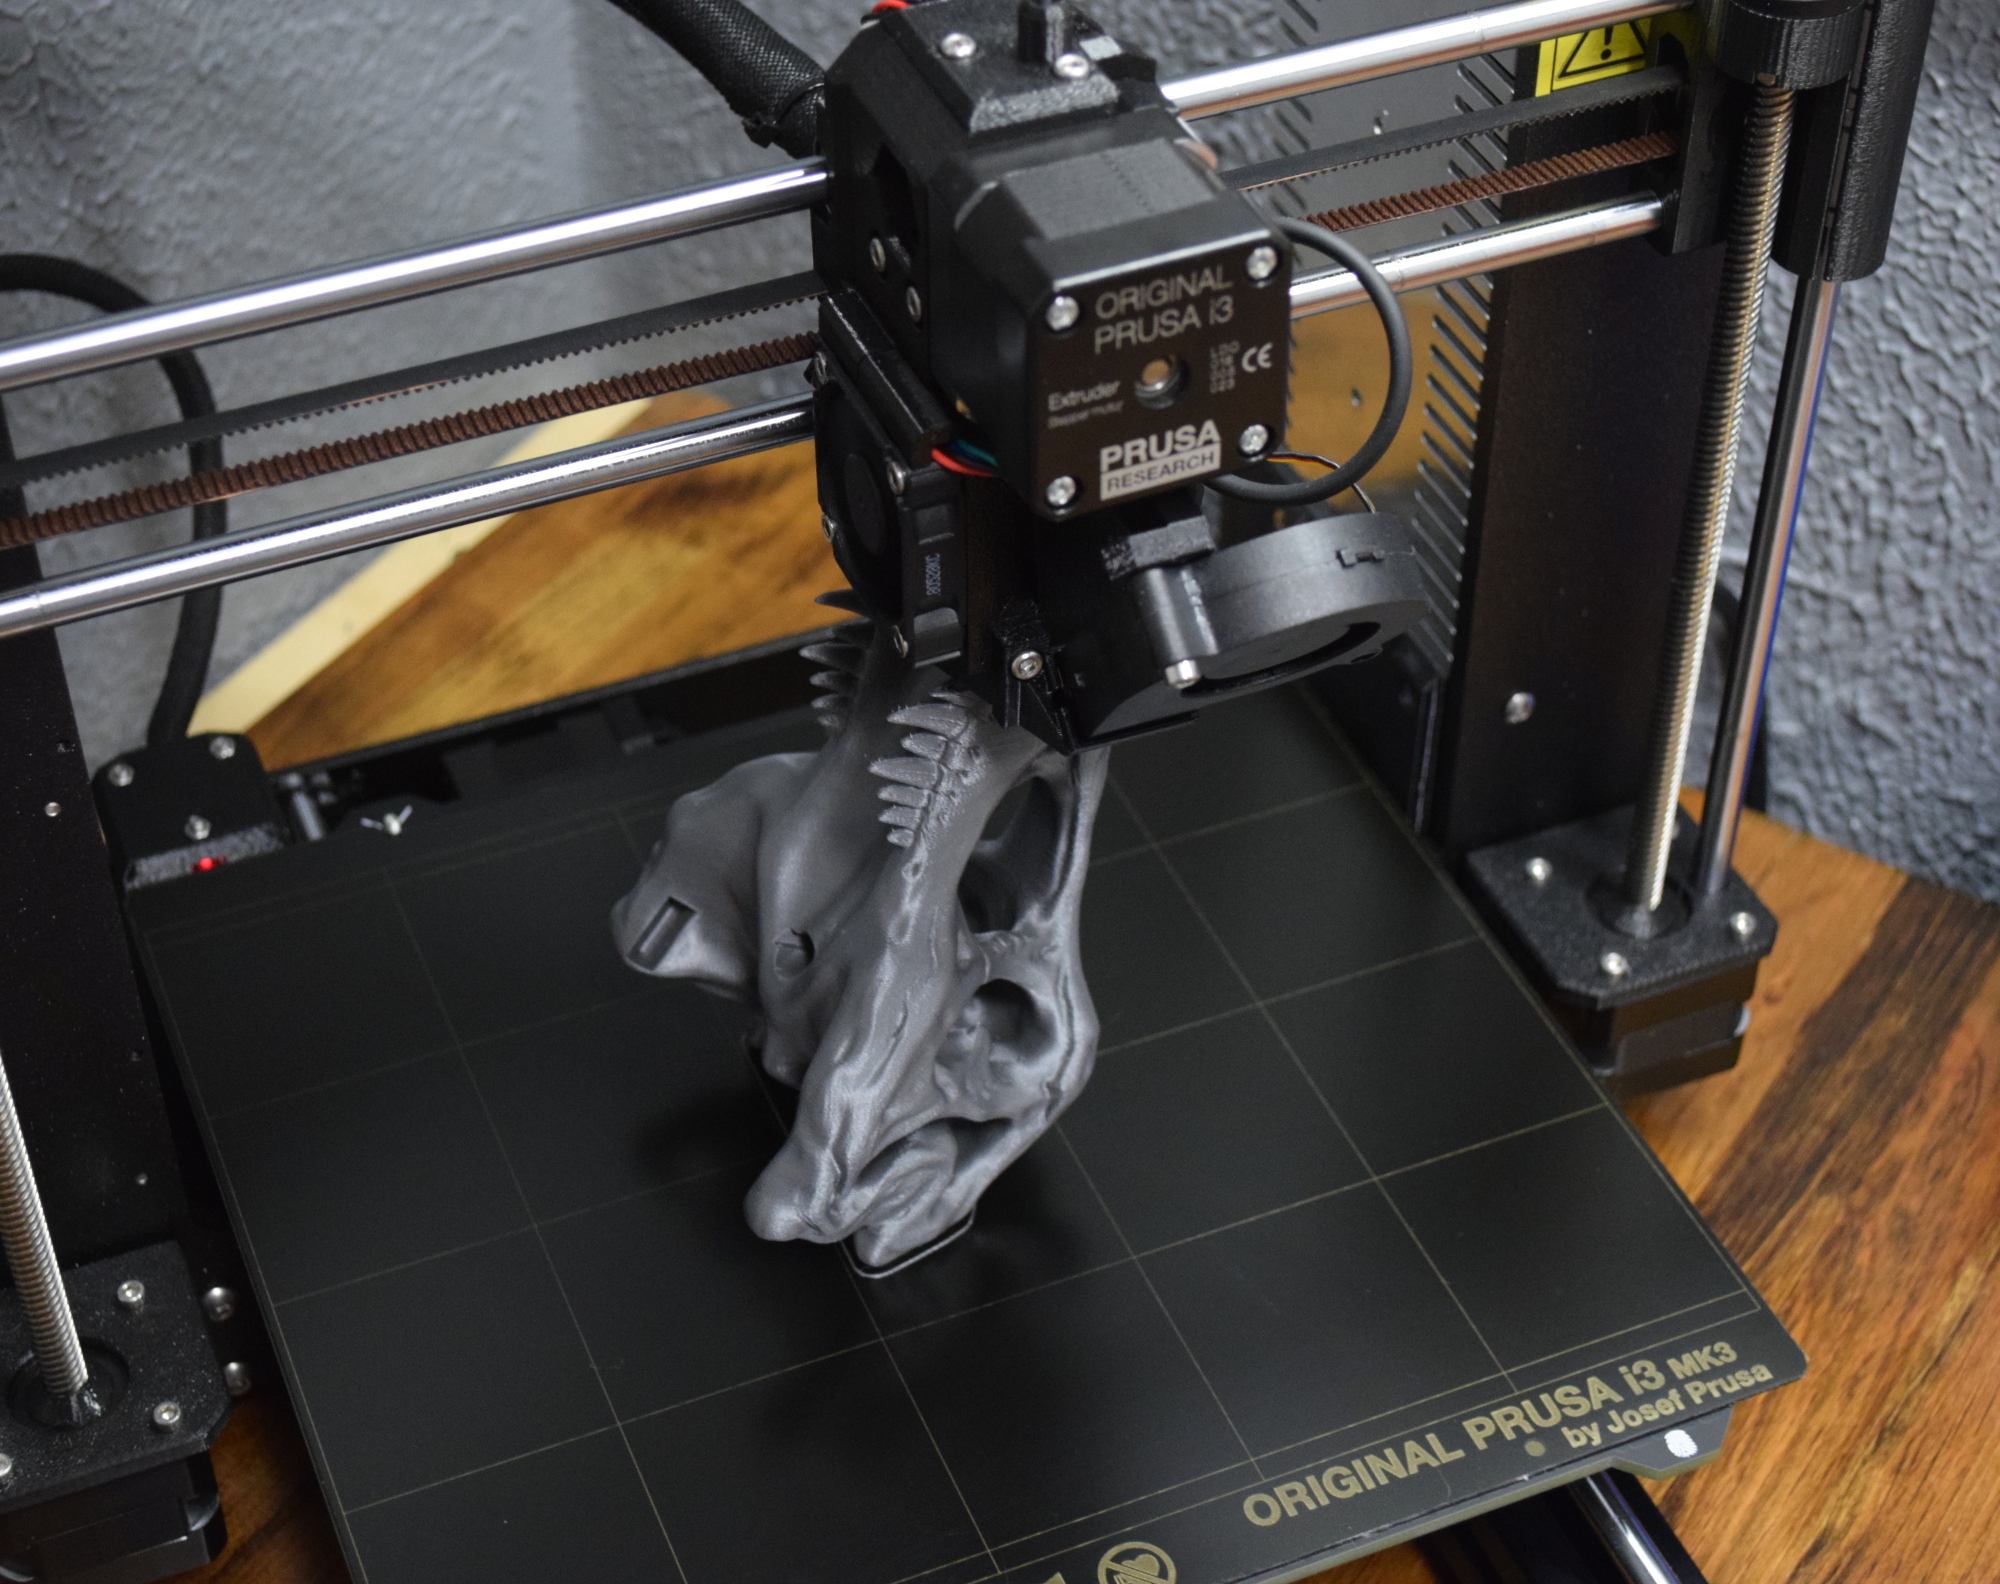
Designing this from scratch would be an interesting challenge but I noticed that the Original Prusa i3 had exactly the same setup I was looking for only mounted to a different head setup. Retrofitting something designed for this printer would be much easier for a proof of concept and I could piddle around with it after to make something a bit more bespoke to the Copymaster3D! This is great in theory but the space under that lower fairing is extremely limited so I may have to look at some kind of integration to get past this. That would be a lot more work. I best get my ruler out.


Comments
Post a Comment