shhhhhhhhh pt1: the free bit - Copymaster3D 300
Intro
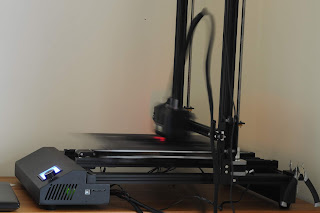
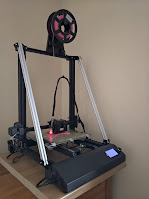
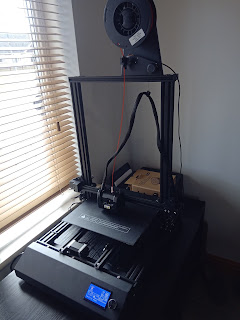
"Wooooooooooooooosh, Buzzzzz, wizzzzz and some wir" shouted the Copymaster 3D, all day, every day.What starts off as a kind of neat load of robot noise reminiscent of Short circuit, soon becomes an annoyance.
In fact; if you share a room with it, it is verging on an uncomfortable noise levels. Every video I see of a Prusa i3 working away silently makes me more and more envious (not to mention the print quality!).
I needed to quieten down my printer but I also needed to improve cooling which I will try to keep separate but you just know it is going to have some cross over here.
Quieter without spending any money
 Slow your mother f*****g road!
Slowing this thing makes quite a big difference to sound and print quality.
As standard, this printer was printing far too fast for itself. This may have been an error in my setup however as I was using multiple conflicting sources.
I was getting bad ghosting in the X and Y directions so I slowed the thing down in Cura to try and reduce these symptoms and in doing so the noise. I set a wall speed of 50 mm/s and 25mm/s for outer walls etc.
This change certainly improved ghosting issues and the noise level of the stepper motors as well as the bed thumping about dropped substantially too.
Basics
During this process I did take the time to tighten up belts and lube jack screws (I use white grease). Basic maintenance like this will help the printer work less hard and as a result; waste less energy in noise. I will talk a bit more on this in a future ghosting removal blog post.
Not a fan
The printer head and computer fans are now the loudest parts on this printer as they constantly scream away whilst the printer is on. A really easy fix for this is to turn the fans off but the electronics aren't going to like that very much so we need a compromise.
*Spoiler Alert*This steps below didn't work fully for me. If you can't be assed reading more waffle than necessary, skip to the next bit of red text.
There isn't much fancy going on in with fan speed selection. You just set it in: Control>Temperature>Fan>Speed between 0 and 255 which is displayed as 0-100%. The speed you set is what it stays at from power on to power off. You need to store this setting if you want it to be repeatable by going back to Control and scrolling down till you find Save.
There is the option to use the printer head fan to only come on when a certain printer head temp has been reached and turn off when it drops below this. As the Copymaster3D uses the fan to cool the cold end and the part you are printing, this might not be ideal, it doesn't seem to work anyway.
A slightly more advanced and elegant way to control the cooling is to; set the fan to 0 on the Copymaster3D then in the cura printer settings set a start code with M106 towards the top of the start code (M106 with no speed will set fan to maximum, set M106 S127 for example if you need half speed cooling). You could drop this code in wherever you want, I chose just early on but you could go after the bed level check but I would worry about the cold end getting warm causing slip. Wherever you put it you will now start the printer up with only the computer fan running and will only set the head fan going when at the step you inserted the new G code when you print something.
You are then left to add an M106 S0 code to chuck in at the end to kill the fan. Alternatively you could go for M106 65 for a roughly 25% fan just to prevent your still very hot hot end making a mess of your cold end.
This worked great till I power cycled the machine and it would start back up with the fan at 100% again.
I tried to edit the start up fan speed to 0 using Printrun but this wouldn't save either.
For whatever reason this wasn't saving properly for me and the printer would revert to full power once power cycled. I needed to get a bit more technical to solve this one.
Here you go.
I vaguely recal somewere that there is a warning to be careful with the fan speed settings due to it being multi purpose. As a result of this, I believe there is some firmware stopping me changing the base settings so clearly what I need to do is mess with the firmware. mmm safe!
This clearly won't make the printer any quieter during printing but it will at least shut it up whilst you are working around it setting up or removing a print.
The fix for this will be to change the Marlin firmware to a custom setup. This is a good idea as Copymaster have wasted absolutely no effort on supporting these printer and with the V2 out, I expect that not to change. I intended to do this custom firmware update myself but as you may know already, this printer is no longer in my inventory.


Comments
Post a Comment